Dental instruments may look simple, but manufacturing a professional hand instrument requires multiple controlled steps.
Fine explorers, double-ended restorative instruments, extraction forceps and instrument cassettes all require different production processes.
For dental distributors, understanding how dental instruments are manufactured can help evaluate suppliers more effectively.
This guide provides an overview of the typical dental instrument manufacturing process.
Step 1: Product Design and Specification
Manufacturing begins with a defined product design.
The manufacturer needs to know the instrument type, dimensions, working-end geometry and handle configuration.
For standard products, an existing technical specification may already be available.
For OEM products, the customer may provide a sample or drawing.
Step 2: Material Selection
Material selection depends on the instrument.
Different products have different mechanical requirements.
A fine explorer needs a different working-end characteristic than extraction forceps.
Professional stainless steel materials are commonly used across dental instrument manufacturing.
The material specification should match the intended product design.
Step 3: Initial Forming or Cutting
The raw material is prepared into the basic instrument shape.
Depending on the product, this may involve cutting, forming, machining or forging-type processes.
At this stage, the product does not yet have its final working-end finish.
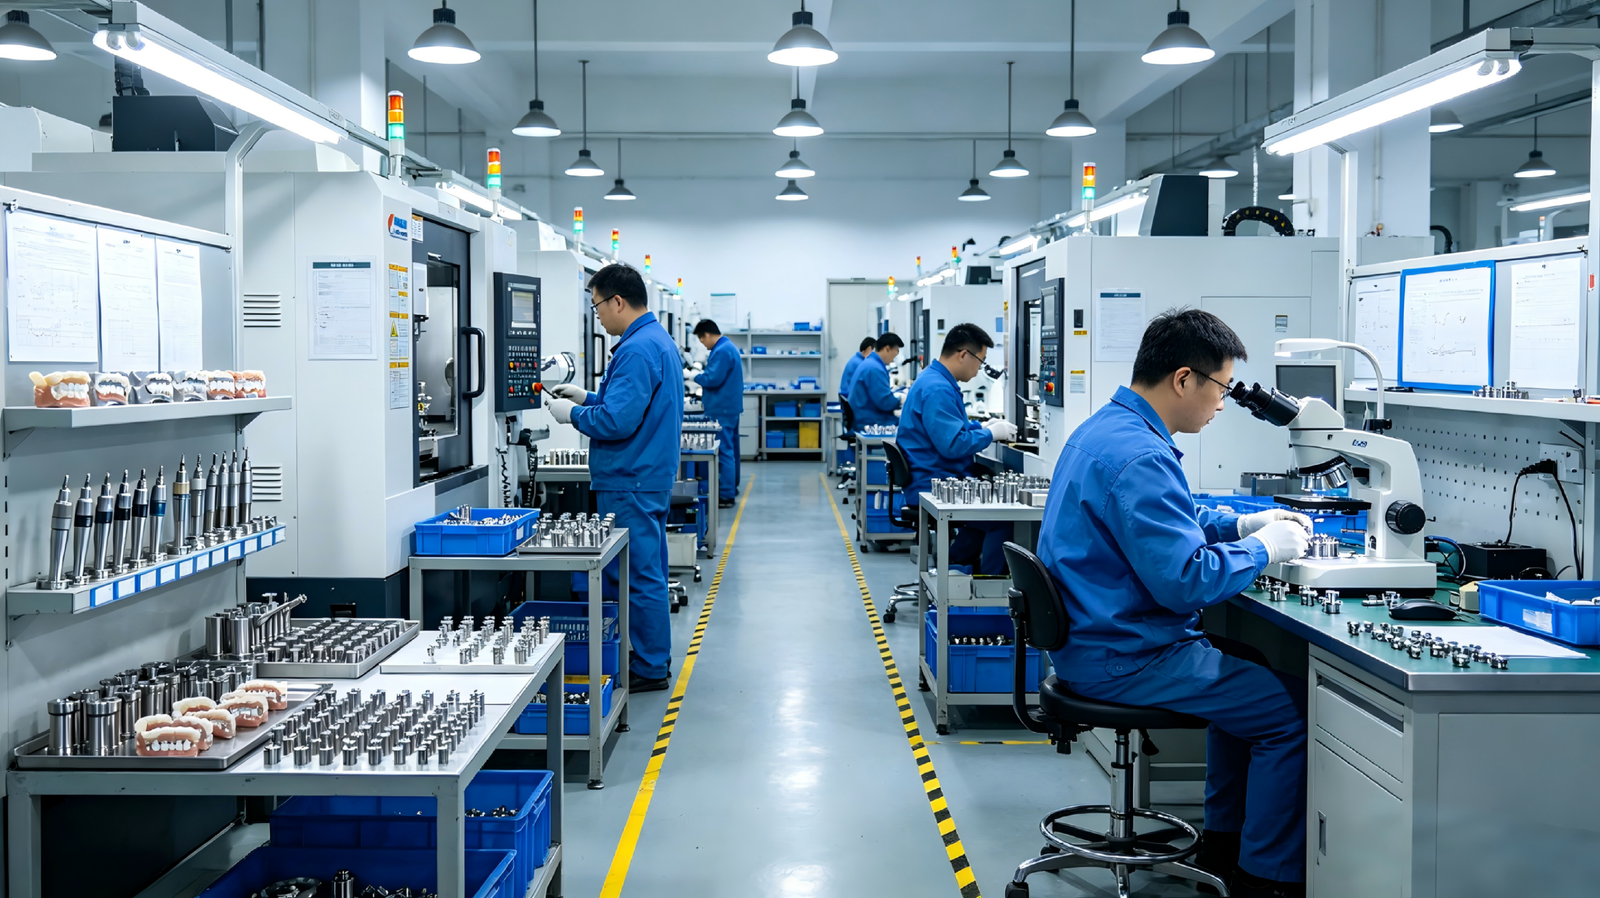
Step 4: Precision Machining
Precision processing is used to control dimensions and geometry.
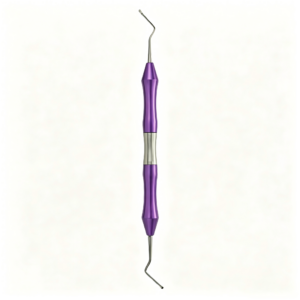
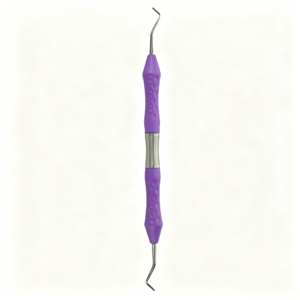
For handles, this may include shaping textured grip areas.
For hinged instruments, components must be produced to fit together accurately.
Step 5: Working-End Manufacturing
The working end is often the most critical part of the instrument.
This stage may include:
grinding, shaping, cutting, polishing and dimensional control.
Examples include:
fine explorer tips, composite paddles, carver ends, forceps beaks and scissor blades.
Step 6: Handle Texture
Many dental instruments include textured or knurled handles.
The texture provides grip and also creates a consistent visual appearance.
Private-label ranges often use one handle style across multiple products.
Step 7: Joint Assembly
Hinged instruments require assembly.
Examples include:
surgical scissors, extraction forceps and needle holders.
The hinge or joint must allow smooth movement.
Alignment should be checked during assembly.
Step 8: Surface Polishing
Surface finishing is a visible quality factor.
Professional polishing removes manufacturing marks and creates a more consistent appearance.
The working ends also require careful finishing.
Over-polishing should not change important product geometry.
Step 9: Laser Marking
After the instrument is finished, logos or model numbers can be applied.
Laser engraving is commonly used for private-label products.
The marking position should be consistent across the production batch.
Step 10: Quality Inspection
Final inspection can include:
dimensions, tip geometry, surface finish, hinge movement, blade alignment, handle appearance, laser marking and overall product consistency.
Different instruments require different inspection points.
Step 11: Cleaning and Packaging
After inspection, products are prepared for packaging.
Packaging depends on the customer and product type.
Private-label projects may use custom packaging.
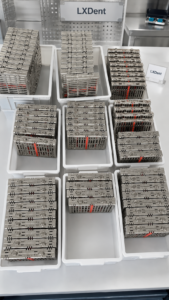
Complete sets may be assembled into instrument cassettes before final packing.
Manufacturing Dental Cassettes
Cassettes require a different manufacturing process.
Important components include:
stainless steel body, perforated panels, hinges, latches and silicone holders.
The final cassette should close correctly and provide sufficient space for the instruments.
OEM Manufacturing Process
Custom products add additional development steps.
A typical OEM workflow includes:
requirement review, sample or drawing analysis, specification confirmation, sample development, customer approval and bulk production.
Clear approval before production is essential.
Why Sample Approval Matters
Even when product photographs look correct, small differences may exist.
Samples allow the buyer to inspect:
dimensions, grip, working ends, finish, movement and engraving.
For private-label products, sample approval can also confirm branding.
What Buyers Should Inspect Before Bulk Orders
B2B buyers should evaluate more than one sample where possible.
Look for consistency between pieces.
Check whether the manufacturer can reproduce the same specification.
For hinged instruments, test movement.
For fine instruments, compare working ends.
For cassettes, verify that the selected instruments fit correctly.
Frequently Asked Questions
Are all dental instruments manufactured the same way?
No. The manufacturing process varies by product type.
Can dental instrument designs be customized?
Yes, depending on design feasibility.
Can a manufacturer reproduce a customer sample?
A sample can be used as a reference for development.
Can logos be added during manufacturing?
Suitable instruments can be laser marked before packaging.
Conclusion
Dental instrument manufacturing involves a combination of material control, precision processing, working-end shaping, polishing, assembly and inspection.
For dental distributors, understanding these stages helps identify suppliers capable of supporting long-term product development.